

Purpose
Your users don’t spend as much time thinking about your product as you do. To fight the “Curse of Knowledge” you have to measure how clear your docs are.Installation
To get this running, you’ll need a bit of time. Here are the steps we’re going through:- Set up Formbricks Cloud
- Build the frontend
- Connect to API
- Test
1. Setting up Formbricks Cloud
- Create a Formbricks Cloud account.
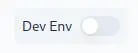
- In the top-right menu, you can switch between “Development” and “Production” environments. These are separate, so your test data won’t affect real insights. Switch to “Development”:
- Then, create a survey using the template “Docs Feedback”:

- Change the Internal Question ID of the first question to “isHelpful” to make your life easier 😉
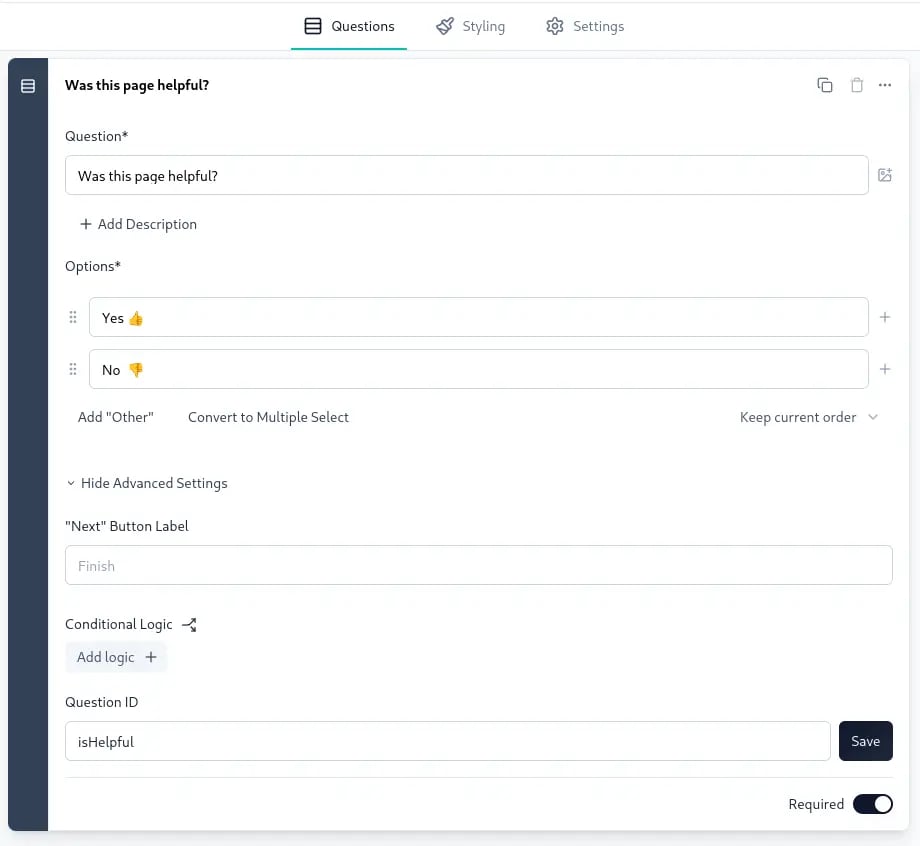
- Similarly, you can change the Internal Question ID of the Please elaborate question to “additionalFeedback” and the one of the Page URL question to “pageUrl”.
The answers must be identical. If you want different options than “Yes 👍” and “No 👎”, you need to update the choices accordingly. They must match the frontend we’re building in the next step.
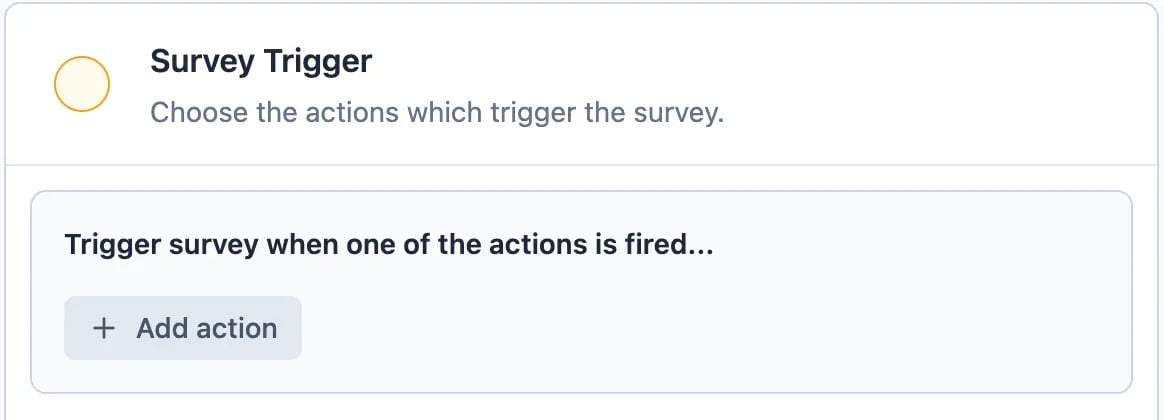
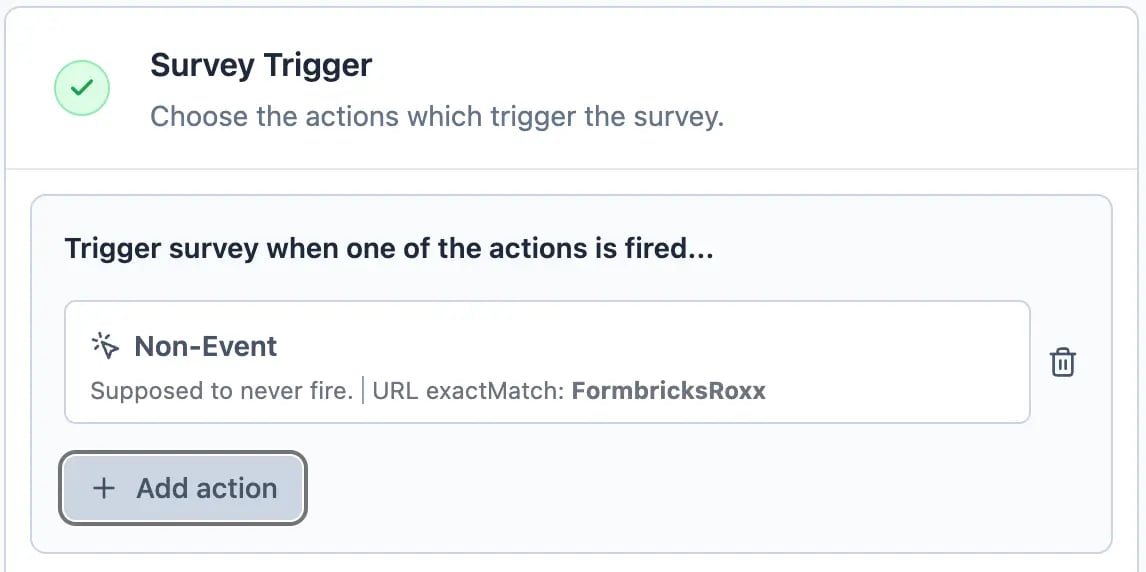
- Click on “Continue to Settings or select the audience tab manually. Scroll down to “Survey Trigger” and create a new Action:
- Our goal is to create an event that never triggers. This might seem odd, but it’s a necessary workaround. Fill out the action as shown in the screenshot:
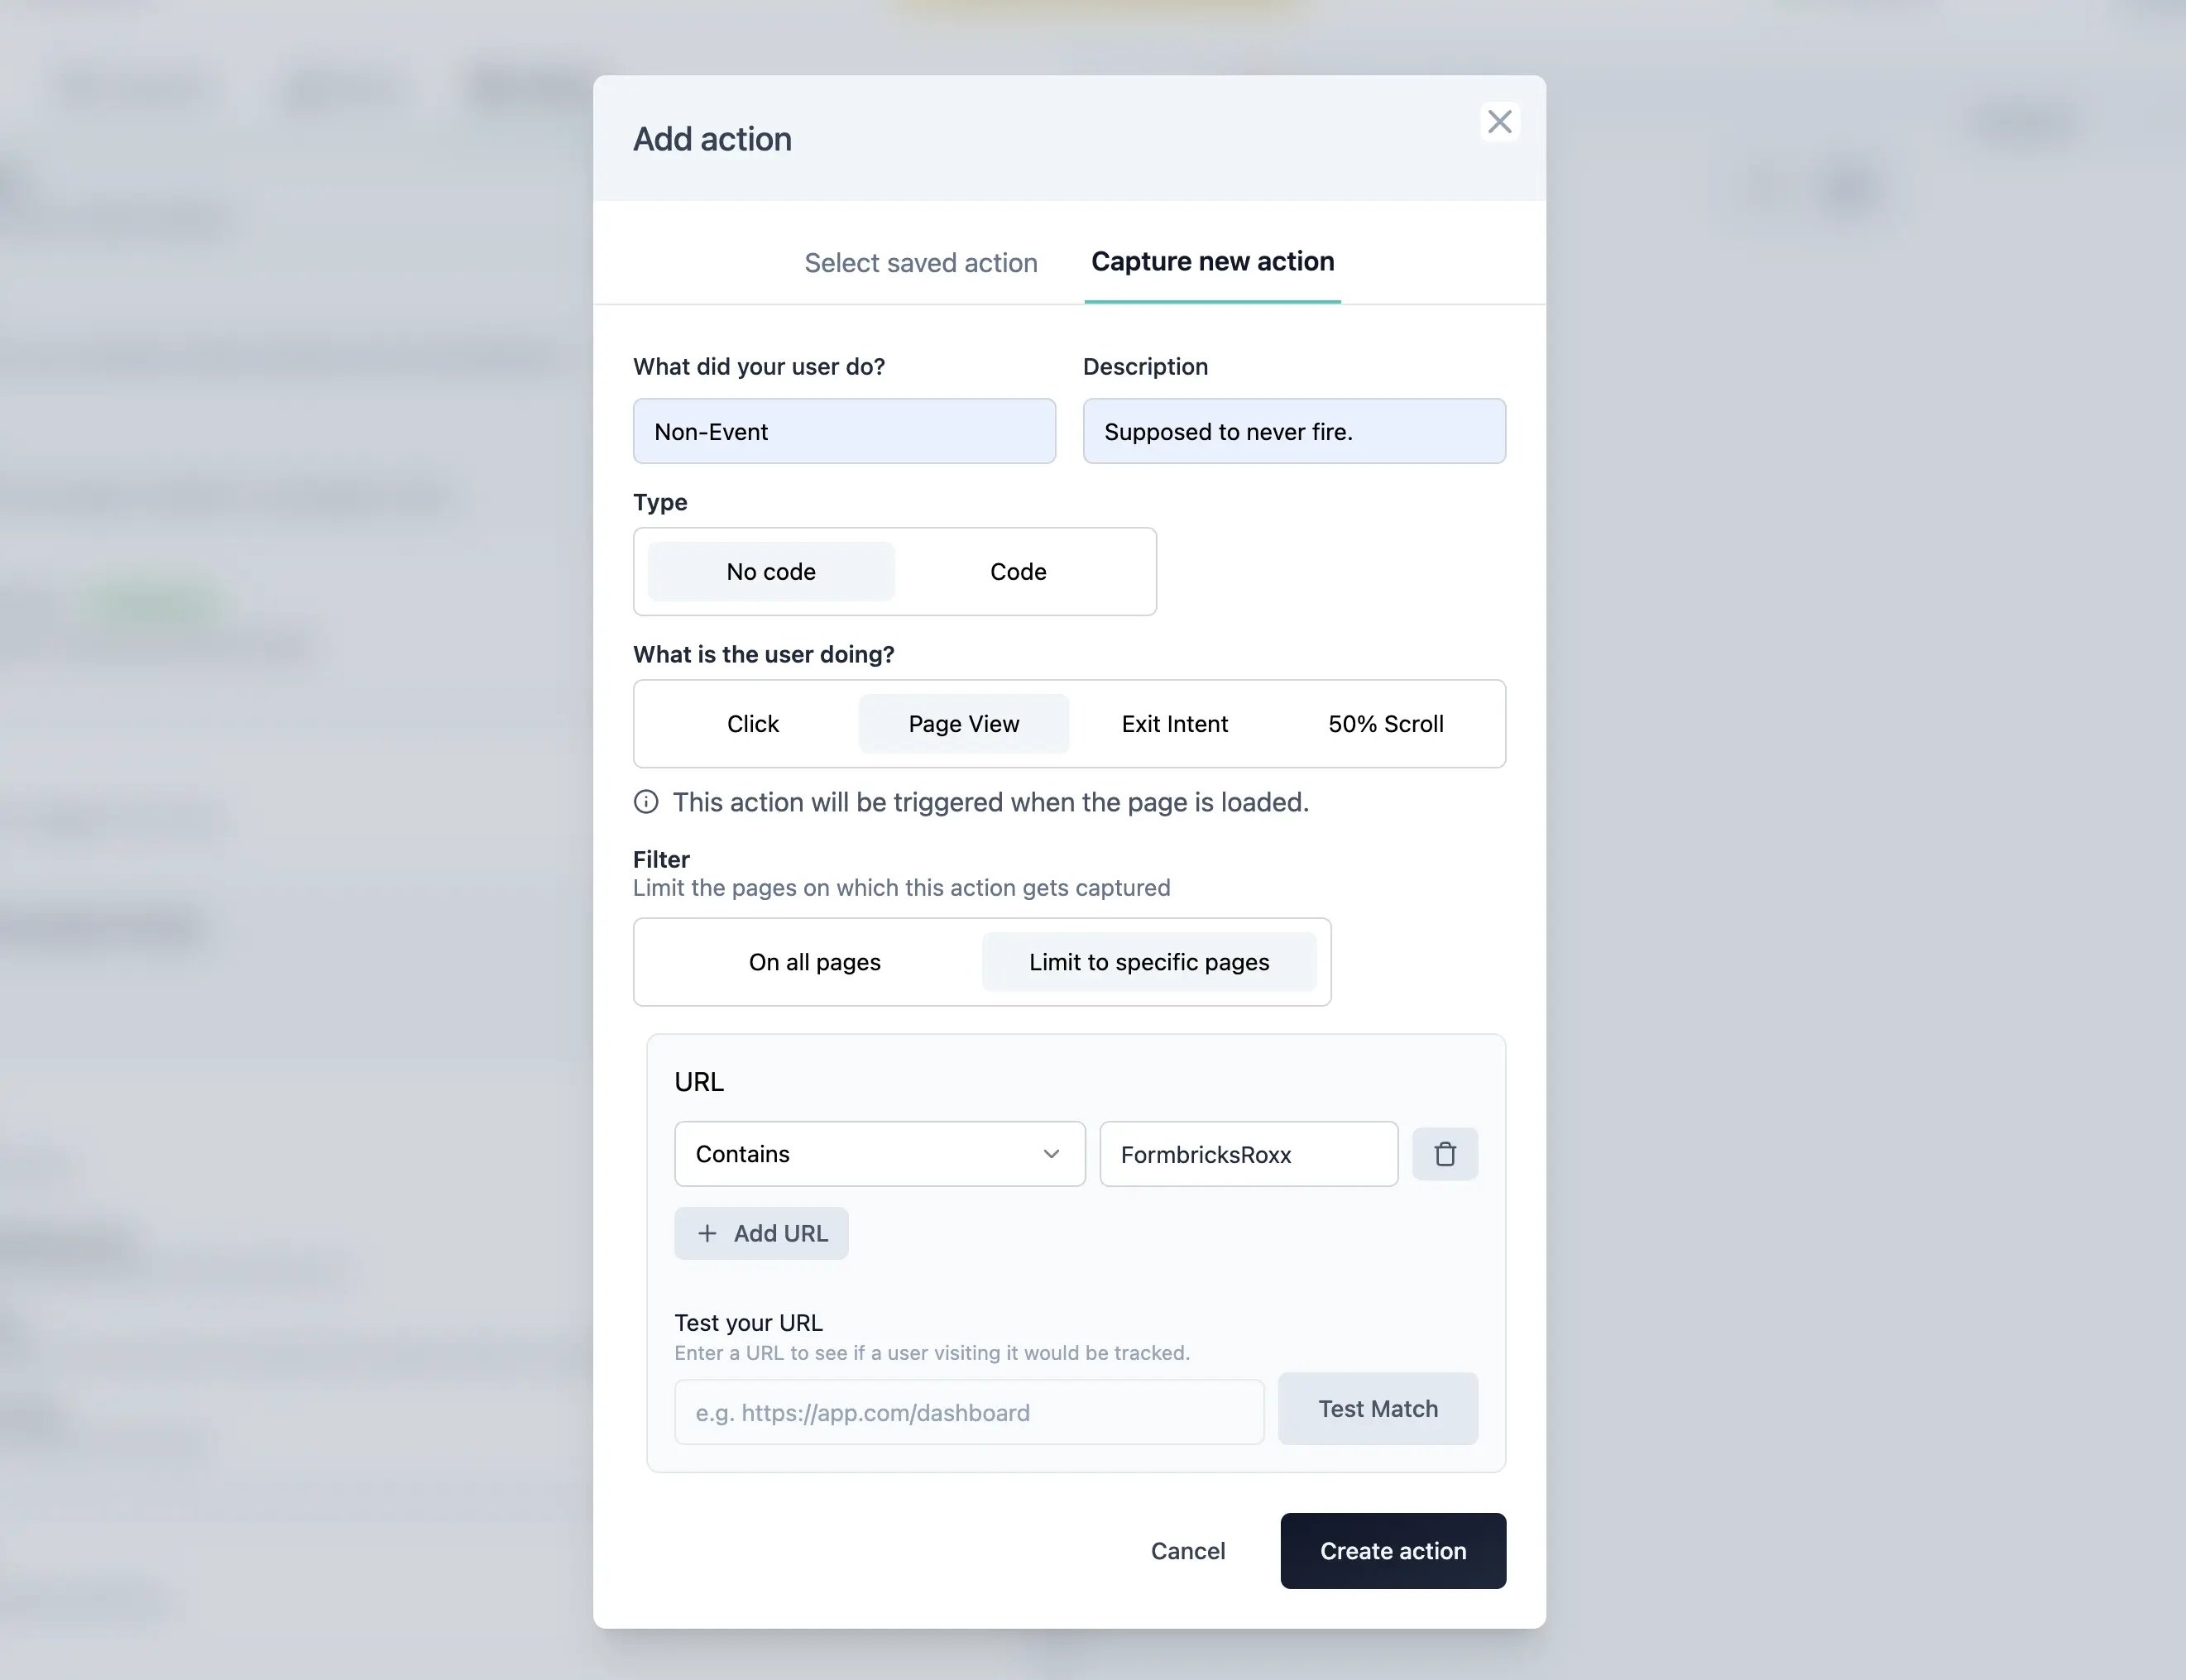
- Select the Non-Event in the dropdown. Now you see that the “Publish survey” button is active. Publish your survey 🤝
2. Build the frontend
Your frontend might work differently Your frontend likely looks and works
differently. This is an example specific to our tech stack. We want to
illustrate what you should consider building yours.
- Once the user selects yes/no, a partial response is sent to the Formbricks API. It includes the feedback and the current page url.
- Then the user is presented with an additional open text field to further explain their choice. Once it’s submitted, the previous response is updated with the additional feedback.
- Open the code editor where you handle your docs page.
- Likely, you have a template file or similar which renders the navigation at the bottom of the page:

- Write the frontend code for the widget. Here is the full component (we break it down right below):
Entire Widget
State Management
Disable feedback if incorrect config env vars
Actual Frontend
3. Connecting to the Formbricks API
The last step is to hook up your new frontend to the Formbricks API. To achieve that, we followed the “Create Response” and “Update Response” pages in our docs. Here is the code for thehandleFeedbackSubmit function with comments:
handleFeedbackSubmit() function definition
updateFeedback function with comments:
updateFeedback() function definition
4. Setting it up for testing
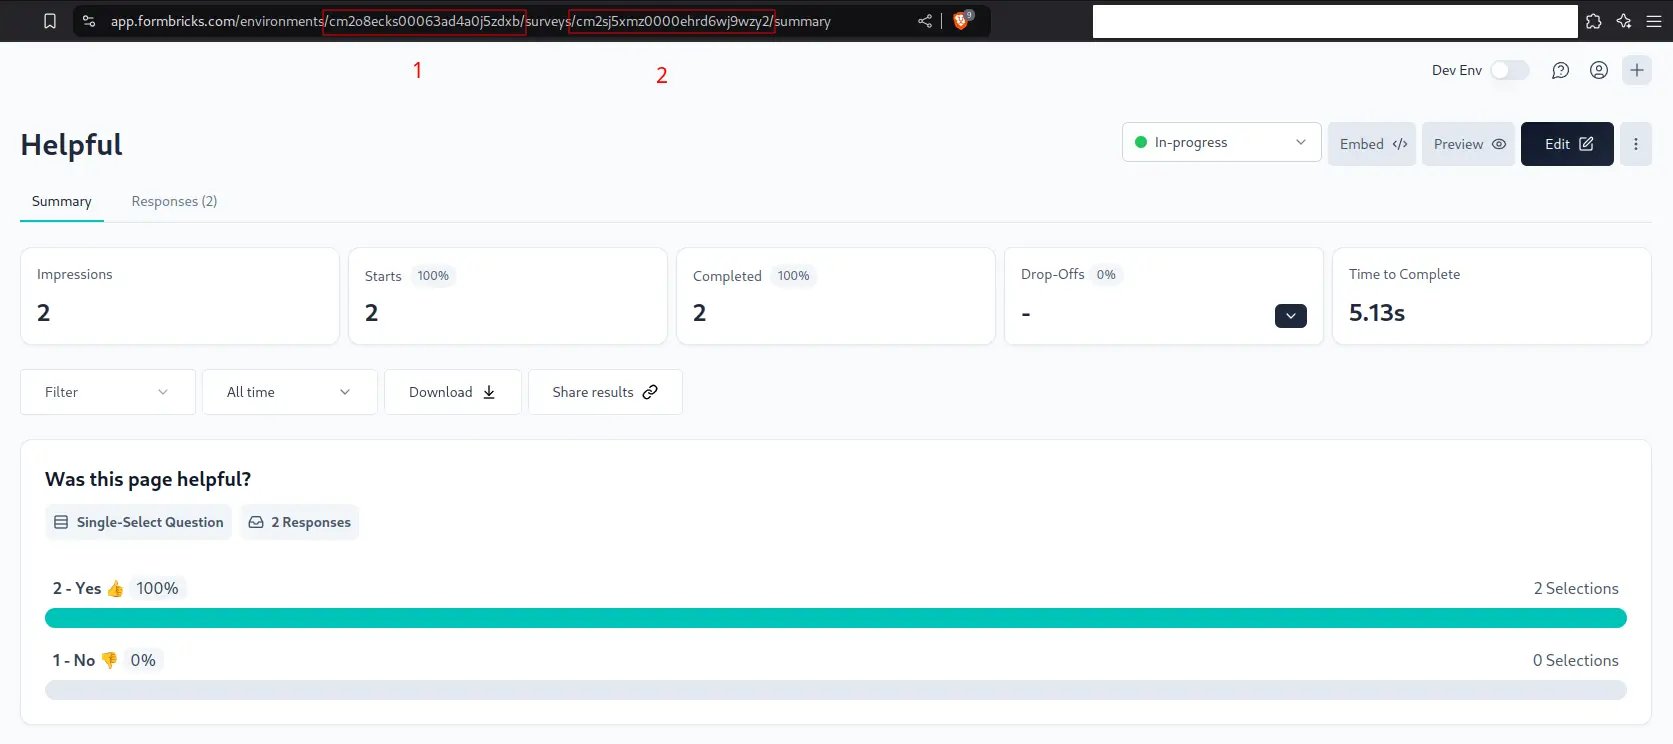
Before you roll it out in production, you want to test it. To do so, you need two things:- Environment ID (1) of the development environment on app.feedbackflowhq.com
- Survey ID (2) of your test survey
handleFeedbackSubmit:
Replace the ID and API accordingly
updateFeedback function
Replace the ID and API here as well